Nothing might amuse you more than watching a technically proficient mixed martial artist submit his opponent, especially if grappling is your thing. While these MMA submissions are as painful for the players, fans go ecstatic when an athlete taps out via submission.
Also known as MMA submission holds, these fall into two broad categories: Joint Locks and Chokes. Statistically, chokes are much more popular in modern day MMA. Many believe it’s also because they are easier to perform during a fight.
In fact, four of the five most successful submission moves applied in major MMA events in recent years have been chokeholds.
Now the big question is, what could be the best criteria for ranking as the top MMA submission holds out of so many that are commonly used? Well, we thought resorting to the Statista could be one of the simplest and the most authentic ways of doing so.


Anaconda Choke (3.7{317a7769e272dec17b69bda26c6a5a4c5e6799efcd8a85f72cb552b76862c2b9}) – 5th of the Top 5 MMA Submissions
The Anaconda Choke, also known as the Gator Choke, holds 5th position in this list, with this powerful technique representing 3.7{317a7769e272dec17b69bda26c6a5a4c5e6799efcd8a85f72cb552b76862c2b9} of all submissions in the UFC.
It is aptly named for the spinning maneuver from a frontal choke position that knocks your opponent off his feet and slowly squeezes the life out of him within your arms.
The anaconda choke works the same way in MMA bouts as the anaconda strangles its prey in the wild, justifying its name. In essence, it’s an arm triangle choke done in reverse.

How to Do an Anaconda Choke?
A basic anaconda choke starts from either you snapping your opponent down or sprawling. Here’s how you do it right:
- To set up the choke, you get on top of your opponent in a head control stance.
- Proceed into your move by sliding your wrist under your opponent’s neck and pushing their arm inward, lending your arm the space to pass through the right spot.
- Lock your free hand to the hand passed underneath your opponent’s neck, tightly pressing their free arm inwards using your bicep.
- Once in this position, quickly tilt your opponent further inwards, deepening the underhand choke across their neck and clamping the choking onto the opposite elbow. In doing so, it’s better to place your outer hand on the side of their ribs.
- It’s about time you roll them over to their back, establishing a rock-solid grip around their neck, squeezing the breath out of them like the anaconda does to paralyze its prey.
Arm Triangle Choke (6.3{317a7769e272dec17b69bda26c6a5a4c5e6799efcd8a85f72cb552b76862c2b9}) – 4th of the Top 5 MMA Submissions
The term “arm triangle” (also known as “head and arm choke” or “side choke”) is often associated with the “Kata Gatame” choke, which has its roots in Judo.
However, with its many variations, it is crucial to distinguish which one is best in each situation. Despite the incredible variety, the good news is that the mechanics remain largely the same, so learning even one variant means improving your chances of learning the rest in the future.

How to Do an Arm Triangle Choke?
While ‘top mount’ is the most preferred position to initiate this choke, beginners and experts often find themselves in less commanding situations such as “side control.”
Now let’s look at how to perform some of its top variations.
Front Arm Triangle:
The most basic triangular choke is “Kata Gatame.” Also known as the “forearm triangle,” this variation works when you and your opponent face each other, which is possible with full or side control.
- From the mount, aim to lean onto your opponent, going chest to chest with them. With their head in the center, plant your palms on the floor, making sure your elbows point outwards. This is likely to lead your opponent to push you off defensively. Take this opportunity to try to get one of your arms underneath one of their elbows. Once there, push your fingers forward, so their arm and elbow start rising up and away from their body. At about the same time, squeeze your other arm underneath their neck, forming a hook shape, which many refer to as the “captain hook.”
- Use your hooked arm to establish a firm grip around their head, turning it inwards. Extend the same arm a little more to grip their opposite shoulder, getting their elbow across their face.
- Use your head to hold his shoulder by pressing your ear against their forearm. Pull their hand from their face to neck with your free hand. Use your head to lock their shoulder against their neck.
- Press their chest with your body weight, bringing your leg (the one on the same side as your hooked arm) across the body and sprawling your legs. You need to grip your hands tightly to strengthen the choke. By walking your feet towards your head, you can tighten it even further to the point where your opponent taps.
Side Control:
- Using side control to perform this maneuver is also common. Fix the captain’s hook under your opponent’s neck from this starting position. You may need to wait for the perfect opening to do this. For instance, when your opponent pushes you away, trying to create space for them to escape.
- They will likely resort to their free arm to fend you off after securing the hook. The moment their arm extends to push your face away, grab the opportunity to press your head into their shoulder, getting the second arm away.
- This is the perfect time to lock your hands into a gable grip (palms facing each other), pressing the choke to your opponent’s submission.
Standing Arm Triangle:
- When the other guy throws a jab at you, duck to slip your head away and reach for their shoulder using your lead arm, hooking it around their neck.
- Quickly secure a gable grip at the base of their neck using your rear hand. Make sure your head is straight up, with your jaw pressing into their shoulder.
- Press up, leaning your body backward until your opponent taps out.
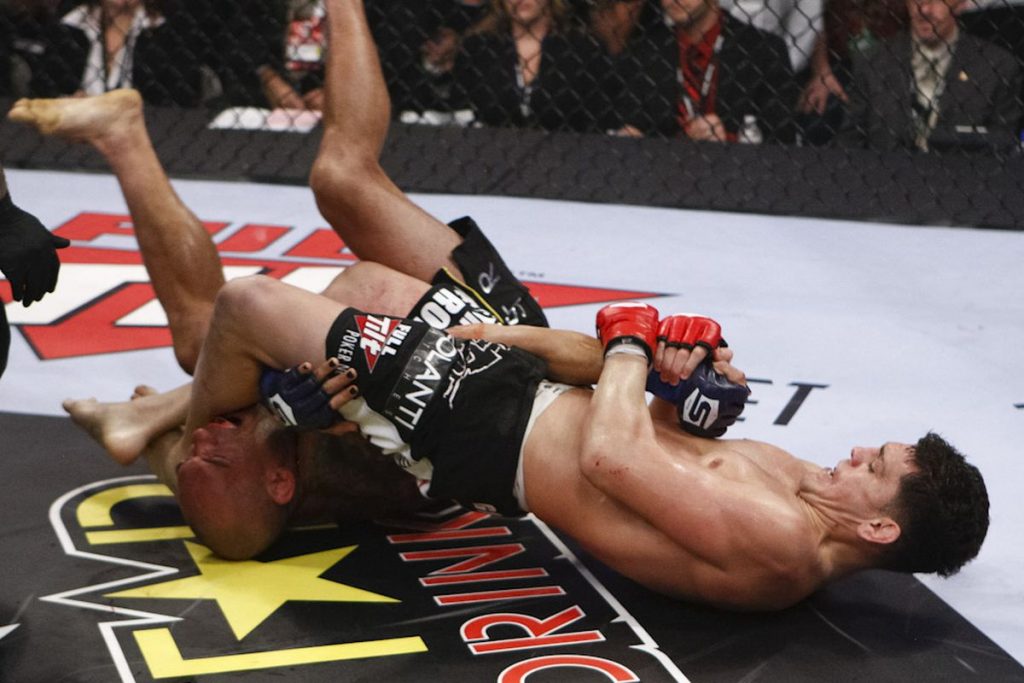
Armbar Lock (12.5{317a7769e272dec17b69bda26c6a5a4c5e6799efcd8a85f72cb552b76862c2b9}) – 3rd of the Top 5 MMA Submissions
The Armbar, called the juji-gatame Judo, is perhaps one of the most common MMA submission holds. The armbar is basically a technique where you isolate your opponent’s arm between your legs and bend it in a direction it shouldn’t. Several armbar variations remain popular in competition.

How to Do an Armbar?
The following steps will help you gain a general understanding of the concept and methodology:
- Using both your hands, grab your opponent’s arm, so their wrist is facing up – executing this hold, your opponent must be on their back.
- Get their arm and elbow between your legs, with your knees bent while you are at it. After securing their arm, position one of your legs over their neck, pressing their shoulder with your thigh, and then adjust the other leg over their waist. Make sure your legs are firmly locked in place.
- Press your legs against the opponent’s body, simultaneously pulling their hand and arm towards yourself. You need close physical contact to ensure your opponent cannot escape out of it.
- Fix your opponent’s arm to your chest using both hands and ground your back. Using their chest as a fulcrum, pull their arm and wrist away from their body and in the direction of their pinky finger. Apply upward pressure from your hips while you pull their arm back. Most fighters are expected not to withstand this kind of pressure on their joints at an unnatural angle, tapping out quickly.
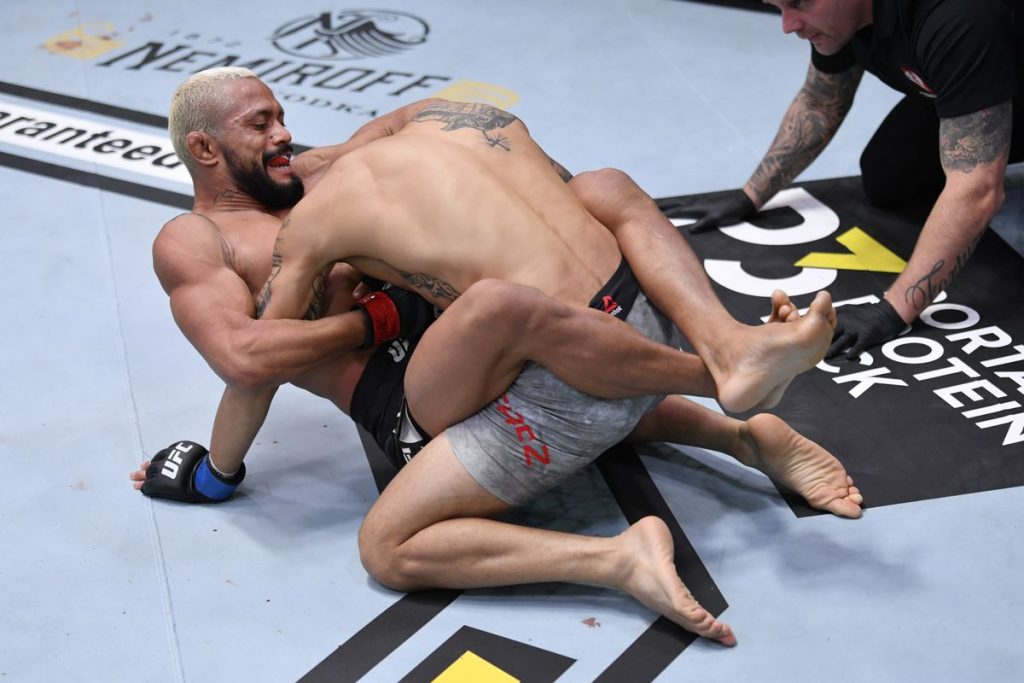
Guillotine Choke (13.7{317a7769e272dec17b69bda26c6a5a4c5e6799efcd8a85f72cb552b76862c2b9}) – 2nd of the Top 5 MMA Submissions
The guillotine shock certainly deserves the name of the French execution device, the guillotine, which was invented to quickly decapitate criminals and dissidents of that time. This is the second strongest submission technique, responsible for 13.7{317a7769e272dec17b69bda26c6a5a4c5e6799efcd8a85f72cb552b76862c2b9} of all MMA submissions in UFC contests.
How to Do a Guillotine Choke?
By wrapping your arms around your opponent’s head from the front, just like the blades of the historic execution machine, you can quickly end the fight by applying pressure to limit the blood flow to their brain. With this in your arsenal of MMA moves, your chances of success skyrocket for sure.
Whether a beginner or an advanced fighter, learn to perfect this simple move on a defending opponent safely and effectively, standing or on the ground.
Performing the Choke from Standing:
- Wait for your opponent to move towards your legs to grab them, clinching their head midway. Or, if their head is slightly tilted towards you, reach over to pull it down by placing your hands behind their neck. Position their head at your chest level while they are facing the floor.
- While their head is still down, wrap one of your arms around it. Wrap it so that your forearm runs underneath their neck. Maintain pressure by facing your palms towards your chest.
- With your free hand, grab your choking arm and establish a firm grip, ensuring your opponent’s head can’t slip out of the bind created by your arms.
- Hold the opponent by the neck, pulling it upward using the pressure created around it with both of your arms. Imagine trying to outstretch your opponent. Drive your hips forward, bringing your elbows to your body, and inhale to complete this hold and stretch out your opponent’s neck.
- You can also step one leg forward and rotate your hips toward that leg to trap them in that position.
- To continue the choke, you may sit on the floor with the opponent’s head still in your choke. Get them to the guard position, which you can do by wrapping your legs around their back while they hang on top of you. Continue stretching them to the limits by pulling with your hands and pushing with your legs.
Performing the Choke from the Ground:
- This guillotine choke variation is effective when you and your opponent are on the ground, with your hips and back on the floor. From here, you can get your opponent into the guard position by wrapping your legs around their back.
- Place your feet on the floor and place one hand on the floor behind you. Prepare to bring your hips back into a sitting position.
- Grab your opponent’s right wrist with your left hand, still holding them in the guard position. Your opponent will try to counter this move by putting the right hand behind your back where you can’t reach it. It brings the opponent’s head and body closer to you, which is perfect for starting a choke.
- Pull yourself entirely into a sitting position while wrapping your right arm across the back of your opponent’s head and around their neck. Keep your right hand close to your stomach to strengthen the grip.
- Place the left hand under the opponent’s chin. Use it to grab your right wrist (your choke hand). Keep this grip tight so the opponent cannot escape from your grasp.
- Now you can wrap your legs again around your opponent’s midsection to get them back in guard. Make sure to maintain the choke using your arms around their neck. Proceed by pulling up with your arms and pushing down with your legs to finish the choke by stretching and leaving your opponent out of breath.
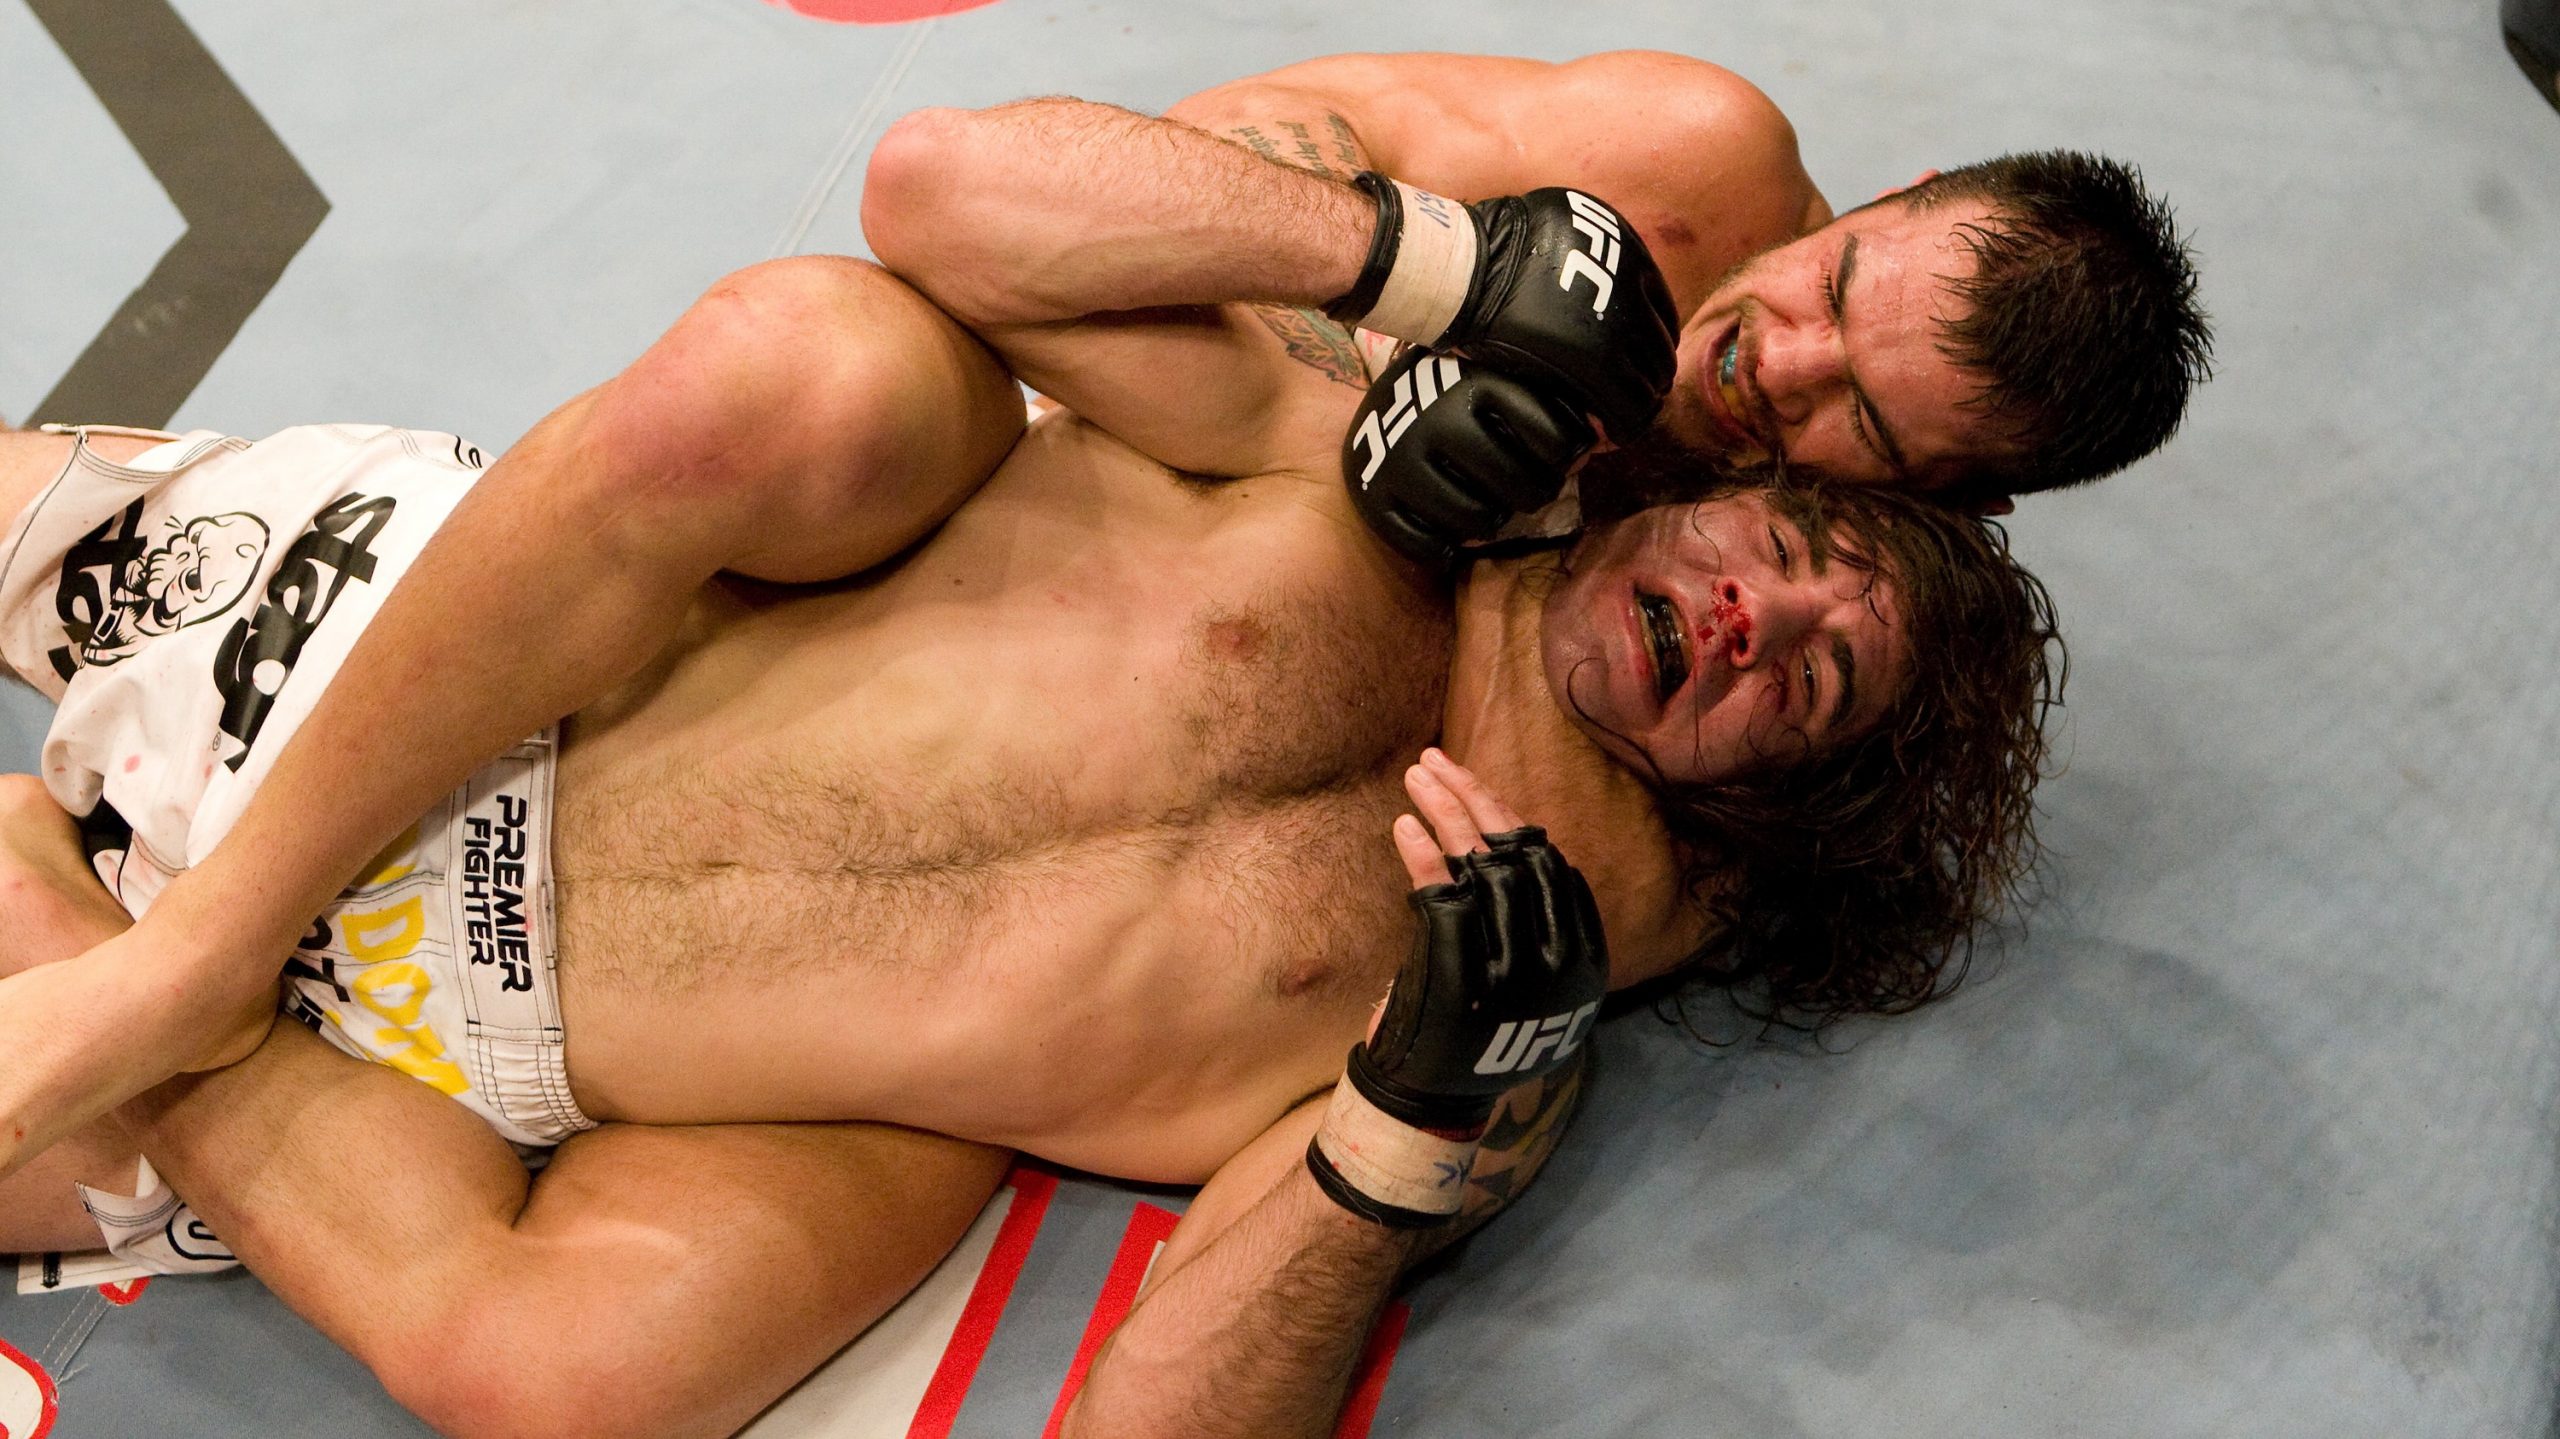
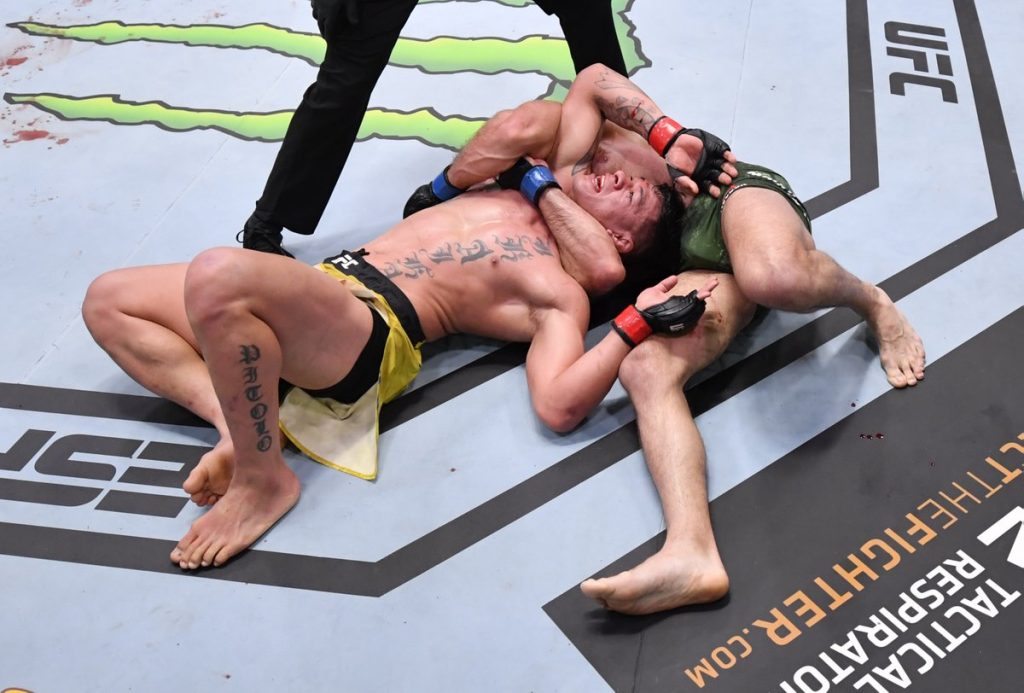
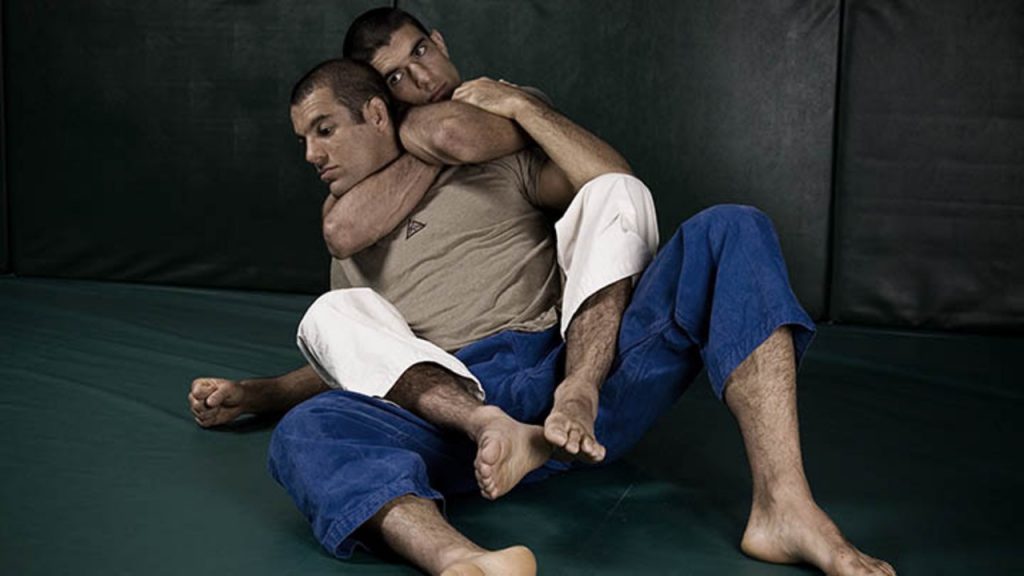
Rear Naked Choke (43.8{317a7769e272dec17b69bda26c6a5a4c5e6799efcd8a85f72cb552b76862c2b9}) – 1st of the Top 5 MMA Submissions
The Rear Naked Choke, often abbreviated to RNC, claims a whopping 43.8{317a7769e272dec17b69bda26c6a5a4c5e6799efcd8a85f72cb552b76862c2b9} of all successful MMA submissions in the UFC. One of every three submissions in the UFC has been won with this move alone.
While the Japanese name of this choke, “hadaka-jime,” literally means “naked choke,” referring to the fact that you do not need to hold the opponent’s “gi” or clothing to choke, but only your bare hands.
This is special because, in traditional jiu-jitsu and Judo, most choke technique requires the practitioner to hold the opponent’s lapel or clothes by the neck to gain an advantage.
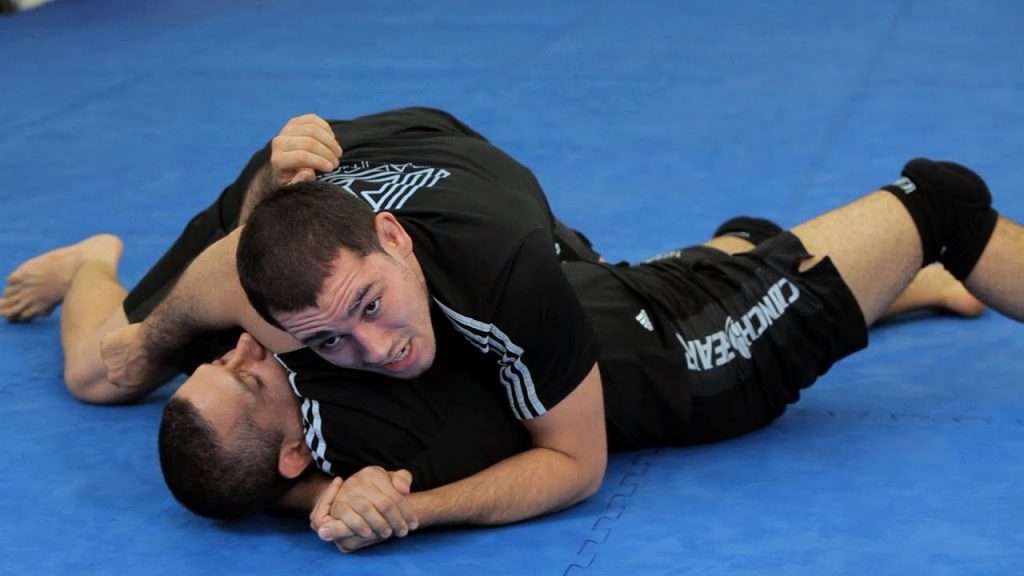
How to Do a Rear Naked Choke?
In Brazilian Jiu-Jitsu, the rear naked choke is a critical attack. Below are the steps involved in executing this move to perfection.
- You must begin with this move in the rear mount position, using an over-under grip to control your opponent. Make sure that your bottom hand is the one that grabs your top wrist.
- Use your top (left) hand to grasp your opponent’s right (opposite) shoulder, clawing your fingers into their shoulder. That’s why it is often referred to as the “tiger claw” grip, a great way of ensuring a fierce grip.
- Then pull your lower (right) arm out of your opponent’s armpit and grasp the choking hand with it, palm to palm. Your right forearm must point to the bottom through this move. It creates a firm position as your hand rests on your opponent’s back. Quite often, your opponent can still apply force to break the chokehold, pulling your choking arm with their hands.
- Grab the opponent’s shoulder with your left hand, squeezing their neck forcefully. At the same time, shoot forward with your right arm to remove his right arm from your forearm, limiting their ability to block your choke. It is a quick movement, almost like a palm against the opponent’s wrist. You don’t want to push his hand away slowly or leave your hand hanging for him to grab. Your goal is to end this conflict as quickly and efficiently as possible.
- Now you will go back to the palm-to-palm grip as elaborated in step 3. This move makes the hood around the neck much tighter, and the opponent’s primary defense – the right hand – is removed from your forearm. Your forearm must be placed under their jaw, not over the face or chin.
- Lastly, nest your right hand deep behind the opponent’s neck and lock it in place with your head pressure. Position your left hand should be on the right bicep. Press down and up and get under the opponent’s jaw.
- You can also wear out your opponent by stretching your legs and arching your back to make the choke even stronger.
To Summarize
MMA submissions bring charm and elegance to the sport, requiring great skill and technique in execution. Whether with a lightning-quick armbar or a complex triangle choke, MMA fighters must always be sharp and ready to outplay their opponents with quick thinking and timely maneuvers.
It takes relentless training and hours upon hours of sparring in the ring for fighters to evolve into submission experts. Since all these grappling moves require close physical contact with your opponent, one of the best ways of taking care of your hygiene is to resort to the best rash guard apparel, as showcased in the RDX Rash Guard collection. So, make the most of it and this detailed guide to perfecting some slick MMA submissions.