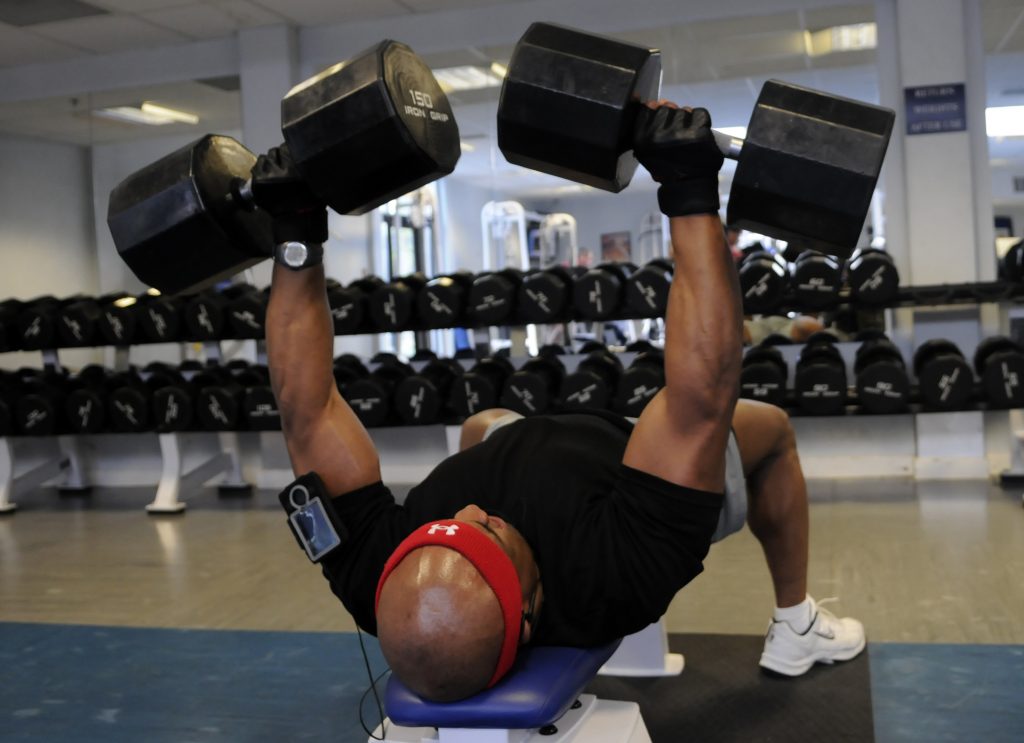
Lifting weights are to bodybuilders what oxygen is to life: customary.
This fitness equipment is used in some strength training exercises to tone muscles and build muscle mass.
If you are using dumbbells for your aerobic exercise routine, you can burn more calories in less time.
Apart from weight loss, dumbbells also help you in balance training.
Some people go to their own home gyms. In case of limited space and equipment, a dumbbell is the most space-saving weightlifting accessory available in the market.
In a letter to his son, the great Benjamin Franklin wrote that he uses a dumbbell for most of his daily exercises. Well, we don’t need to convince you more that dumbbell is your ultimate training partner.
However, buying the lifting weights especially dumbbells from the store is like digging a hole in your pocket.
What if I tell you that you can make a dumbbell yourself?
In this step-by-step guide, we will show you how to make a cement dumbbell for your next weightlifting training.
Materials You Need
You don’t need to wander around in search of these items. Visit any hardware store near your house and tell them what you need.
- ¾’’ Galvanized Steel T’s (4)
- 12’’ Pipes with ¾’’ thread (2)
- 6’’ x 3’’ Rubber Pipe Reduction (1)
- Plastidip (1) optional
- Portland Cement
Step-Wise Guide
Just follow these simple guidelines to make a dumbbell at home.
First Half of Dumbbell:
- Take the threaded pipe and put the T’s on each of its ends.
- Now suspend the pipe in such a way that it sits perpendicular to about 1’’ from the bottom.
- You can use styrofoam pieces and tape them together in a pyramid shape to hold the pipe in place.
- Use an old bucket to mix the cement and fill up the rubber.
- Put the rubber on styrofoam and adjust its height. You can also use a hot glue gun for this purpose.
- Let it set overnight.
- Now cut the rubber reduction. Gently remove it and expose the cast inside.
Your first half of the dumbbell is ready!
Second Half of Dumbbell:
- Use 2 concrete blocks and 2 broomsticks to suspend the first half of the dumbbell at a proper height.
- Adjust height such that the lower T has 1’’ suspension distance from the bottom.
- Tape the rubber properly as it has a cut now.
- Again, pour in the cement and let it dry as you did with the first half of dumbbell.
- Do a test spray on it for a better finish.
- Once the cement is dry enough, you can also use plastidip after its priming.
Congratulations! You just built your very own dumbbells. You can keep on experimenting with this tutorial to make heavier dumbbells as per your requirements.

